.png?w=970&h=250)
How Our Design Team Helps Buyers Optimize Embroidery Before Production
What It Really Means
What Happens When Your Design Reaches Our Team
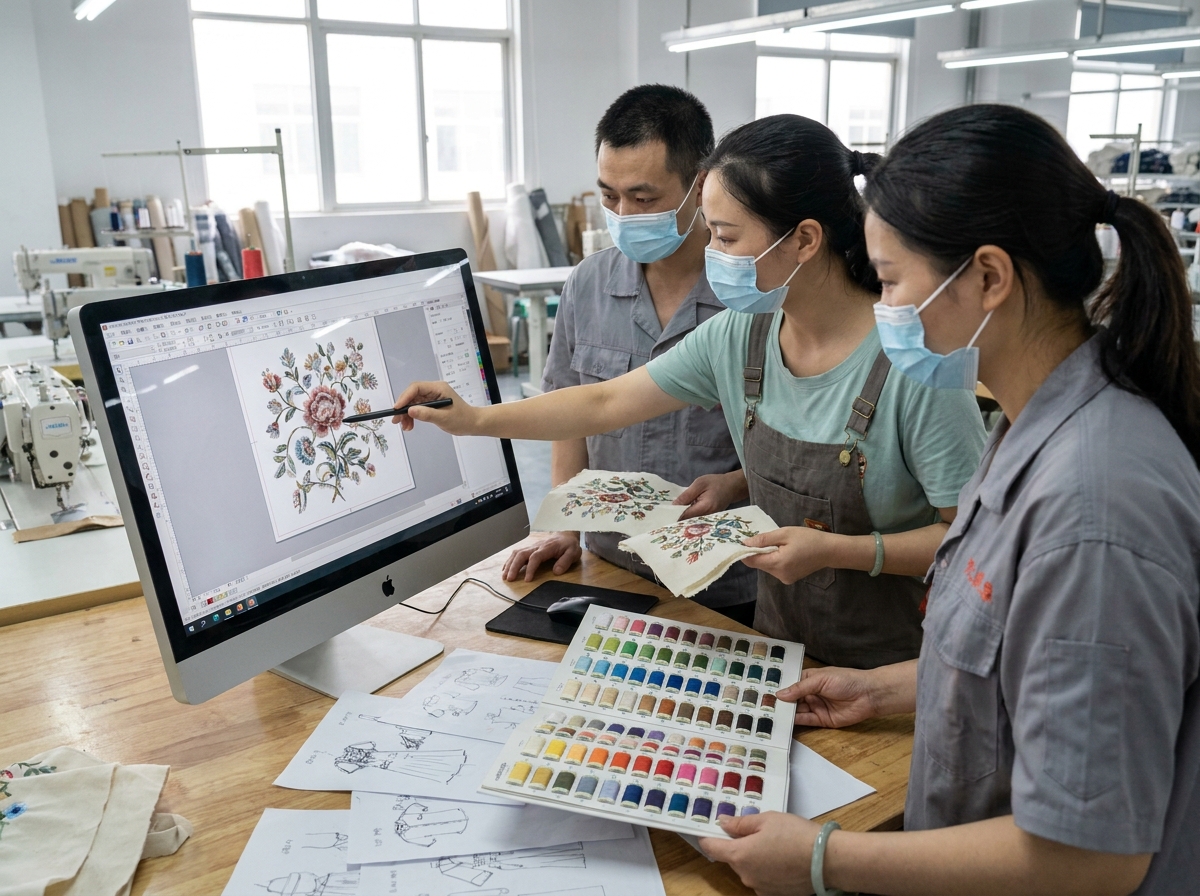
A buyer sent us a floral embroidery design last month. Beautiful on screen. Intricate petals, layered shading, twelve thread colors, fills so dense they looked like they'd been painted on. The buyer was excited. We were worried.
Our chief digitizer took one look at the file and said: this will break on the third production run. The density was too high for the mesh fabric the buyer had chosen. The color count meant constant thread changes, which meant more machine stops, which meant more opportunities for tension inconsistency. And the layered shading? It relied on gradient effects that thread simply cannot reproduce.
We didn't reject the file. We optimized it. Reduced the stitch count by 30%. Consolidated the color palette from twelve to seven without changing the visual character. Adjusted the fill density to match the mesh fabric's tolerance. The buyer approved the revised design, and the sample came out cleaner than the original concept.
That conversation — the one between a buyer's design intent and a factory's production reality — is what this article is about.
When you send us artwork for an embroidery order, we don't just digitize it and run it. Our 10-person design team reviews every file before it touches a machine. They're looking for problems that won't show up on your computer screen but will show up in a 50,000-yard production run. And when they find those problems, they don't just flag them — they suggest alternatives.
This is the part of the process most buyers never see. The optimization conversation. It's not an upsell. It's not a delay tactic. It's the reason our defect rate stays below 2%.
The Design Review: Your First Production Checkpoint
Every design file that comes into Fominte goes through the same review process, whether you're ordering 100 yards or 100,000. Here's what our team checks:
Stitch path efficiency. The digitizing file tells the machine where to place every stitch. If the stitch path is inefficient — too many trims, unnecessary jumps, poorly sequenced color changes — the machine runs slower, thread consumption increases, and the risk of defects goes up. Our team restructures the stitch path to minimize machine stops and thread waste.
Density distribution. Stitch density isn't uniform across a good embroidery design. The AATCC textile standards define test methods for evaluating embroidery quality, and density distribution is one of the key factors. Outlines need different density than fills. Large solid areas need underlay support. Small text needs tighter density to stay legible. If the original file applies one density setting across the entire design, it's going to produce uneven results on fabric.
Underlay structure. Underlay stitches are the foundation that supports the visible top stitches. Without proper underlay, embroidery puckers, shifts, or collapses — especially on stretchy or lightweight fabrics. This is the architecture underneath the surface, and it's where a lot of digitizing files fall short.
Trim sequences. Every time the machine trims thread and jumps to a new position, it creates a potential quality issue: loose ends, visible jumps, or thread pull. Smart trim sequencing reduces these transition points.
Fabric compatibility. A design optimized for cotton will behave differently on mesh. A file built for flat embroidery won't translate to water-soluble without modifications. Our team checks the digitizing parameters against the specific fabric and craft you've chosen.
About 15% of the files we receive need modifications before they're production-ready. That number comes from our actual review data, not an estimate. And here's the thing: those 15% of files would have produced problems — puckering, thread breaks, distortion, uneven fills — if we'd run them as-is. The review catches what the screen can't show you.
The Optimization Conversations We Have With Buyers
The design review often leads to a conversation. Not a rejection — a conversation. Our team explains what they found, why it matters, and what alternatives exist. Here are the four most common optimization discussions we have.
Reducing Stitch Count Without Losing Visual Impact
Stitch count is the biggest cost driver in embroidery production. More stitches means more thread, more machine time, and more opportunities for error. But buyers often don't realize how much their design's stitch count can be reduced without changing how it looks.
Take a solid fill area. A naive digitizing file might use 0.4mm stitch spacing across the entire fill. That's dense. On most fabrics, 0.5mm or even 0.6mm spacing produces virtually identical visual results — the eye can't distinguish the difference at normal viewing distance. But the stitch count drops by 25-40%.
Our team routinely reduces stitch counts by 20-35% through density optimization, smarter stitch angles, and eliminating unnecessary underlay in low-risk areas. The design looks the same. The production cost drops. The machine runs faster with fewer thread breaks.
One buyer was quoted a price based on a 180,000-stitch design. After our team optimized the file, the actual stitch count came in at 125,000. Same visual result, 30% less production cost. That savings goes straight to the buyer.
Swapping Crafts for Better Production Results
Sometimes the best optimization is changing the technique. A buyer might request flat embroidery for a design element that would work better as sequin embroidery, or ask for dense fill work that's more cost-effective as appliqué.
These aren't arbitrary suggestions. They come from our team's experience with what actually runs well on production machines. Our chief embroiderer, who has over 30 years of machine experience and has processed more than 100,000 patterns, can look at a design element and immediately know which technique will produce the best result at the best cost.
The buyer always makes the final call. But informed decisions require informed options, and that's what our team provides.
Simplifying Complex Elements That Won't Survive Bulk
Some design elements look great on screen but don't survive the transition to thread. Gradients. Ultra-fine text. Distressed textures. Photo-realistic shading. These effects rely on color subtlety or detail resolution that embroidery thread cannot reproduce.
Our team doesn't just say "this won't work." They show you what will work. A gradient becomes a stepped color transition. Fine text gets a slight size increase and bolder stroke weight. Distressed textures get simplified to key detail points that read as texture without requiring impossible stitch precision.
The goal is to preserve the design's character while making it production-viable. A design that fails in bulk wastes everyone's time and money. A design that's been optimized for thread and fabric produces consistent results from the first yard to the last.
Adapting Designs for Different Fabric Bases
The same embroidery design behaves completely differently on mesh versus cotton versus silk. Thread tension requirements change. Underlay needs change. Density tolerances change. A design optimized for one fabric may pucker, distort, or lose detail on another.
Our team tests design parameters against your specific fabric choice during the review. If you haven't chosen a fabric yet, they can recommend options based on your design's complexity and intended application.
This is where the breadth of our product range becomes an advantage. We work with mesh, cotton, polyester, silk, stretch fabrics, and specialty bases daily. Our team knows how each fabric responds to different embroidery techniques, and they factor that knowledge into every design review.
How Design Optimization Saves You Money
Let me be direct about the economics.
Embroidery production cost is primarily determined by stitch count, thread type, number of color changes, and machine time. Design optimization directly reduces three of those four factors.
Stitch count reduction. As I mentioned, our team routinely achieves 20-35% stitch count reductions through density optimization. On a design that would have cost $2.50 per yard at 180,000 stitches, a 30% reduction to 125,000 stitches might bring the cost down to $1.85 per yard. On a 50,000-yard order, that's a $32,500 savings.
Fewer color changes. Every color change means a thread trim, a bobbin check, and a potential alignment shift. Reducing a design from 12 colors to 8 doesn't just save thread — it reduces machine stops, which means faster production and fewer transition defects.
Lower defect risk. A design that's been optimized for production has a wider process window — meaning it can tolerate minor variations in thread tension, fabric stretch, and hoop alignment without visible failure. Wider process window means fewer defects, which means less rework, which means lower cost.
The optimization conversation happens during the sampling stage, before any production cost is incurred. It's built into our process, not an add-on service. When you approve a sample that's been optimized from the original design, you're approving a design that's been proven to work at production scale.
What Our Design Team Actually Does
Our design team is 10 people. They don't all do the same thing. Here's how the team breaks down.
Digitizing and Pattern Making
These are the people who convert your artwork into machine-readable embroidery files. They work with specialized software to define every stitch: position, angle, density, sequence, trim points. A skilled digitizer doesn't just trace the design — they engineer it for the specific machine, fabric, and craft.
This is the core of what our team does, and it's where the most critical decisions happen. The digitizing file is the blueprint. If the blueprint is wrong, no amount of skilled machine operation can fix it.
Process Engineering and Craft Recommendation
Some team members focus on the production side: matching designs to machines, selecting thread types and backing materials, determining optimal machine speeds, and recommending craft alternatives when the original approach isn't ideal.
They're the ones who look at a design and say: this element would run better as sequin work, or this density needs to drop 15% for the fabric you've chosen. Their recommendations come from years of watching what actually works on our 27 machines.
Pattern Refinement and Quality Optimization
The third group focuses on refinement: adjusting stitch angles for better light reflection, optimizing underlay for specific fabric types, fine-tuning color sequences to minimize thread changes, and ensuring the final file meets our quality standards before it goes to sampling.
This is where the details get sorted. A stitch angle that's off by 10 degrees might not matter on a sample, but across 50,000 yards, it affects how the embroidery catches light and how the fabric drapes.
What We Need From You
You don't need to send a production-ready file. We accept:
- Vector files (AI, EPS, PDF) — ideal, but not required
- High-resolution images (300 DPI minimum) — very common
- Physical samples or photos of existing embroidery — we can digitize from these
- Rough sketches or concept drawings — our team can develop these into production designs
What helps us optimize faster:
- Fabric base preference (or let us recommend one)
- Color specifications (Pantone numbers, physical swatches, or reference images)
- Intended end use (garment, home textile, accessory)
- Any constraints (budget range, timeline, MOQ)
The more context you provide, the more targeted our optimization can be. But if you're not sure about something, that's fine. Part of what our team does is help you figure out the right approach.
FAQ
Do I need to provide a production-ready embroidery file?
No. We accept vector files, high-res images, or even rough sketches. Our design team converts your artwork into a production-ready digitizing file as part of the sampling process.
What if my design can't be produced as-is?
We flag problems before production starts. About 15% of files need modifications — usually density adjustments, color consolidation, or structural changes for fabric compatibility. We explain what needs to change and why, then suggest alternatives.
Does design optimization cost extra?
Design review and optimization recommendations are part of our sampling process. The digitizing fee covers file preparation, which includes optimization. If your bulk order exceeds 1,000 yards, the sampling fee is deducted from your total invoice.
How do I know if my design needs optimization?
Send it to us. Our team reviews every file for stitch path efficiency, density distribution, underlay structure, and production feasibility. We'll tell you if it's ready or if adjustments would improve the result. There's no cost for the initial review.
Send us your design — even if it's just a rough idea. Our team will review it, flag any production risks, and suggest optimizations before you commit to sampling. Email info@fominte.com.
If you're comparing suppliers, ask each one the same question: what happens to my design file between submission and production? The answer tells you a lot about how that factory operates. We hold OEKO-TEX Standard 100, Higg Index, and Amfori certifications, and we verify material compliance during the design review stage. The optimization conversation is how we earn your trust before you commit to a bulk order.
Step-by-Step Guide
Submit your design artwork
Review the optimization report
Approve the optimized digitizing file
When to Use & Avoid
Stitch count optimization
✅ Use When
- Buyers with high-density designs looking to reduce production cost
⚠️ Avoid When
- Designs where density is already at minimum viable level
Craft swap recommendations
✅ Use When
- Designs with elements that would work better in a different embroidery technique
⚠️ Avoid When
- Designs where the buyer has a specific craft requirement that cannot be changed
Fabric adaptation
✅ Use When
- Buyers switching fabric bases or unsure which fabric to choose
⚠️ Avoid When
- Designs already optimized for a specific fabric with no plans to change
Complex element simplification
✅ Use When
- Designs with gradients, fine text, or photo-realistic effects that won't translate to thread
⚠️ Avoid When
- Designs that are already production-ready with simple, bold elements
⚡ Common Mistakes to Avoid
Everything You Need to Know
Conclusion